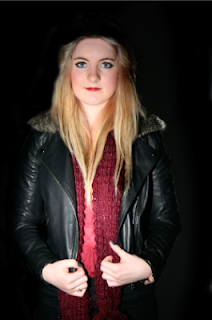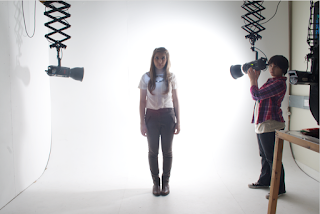

I used Photoshop to make this image look better by changing the background from shadow and grey to a dark black so that the background of the image looked more professional. Looking at the image the models hair looked too light for the image and so I used the quick selection tool and selected the hair and then clicked onto refine edge so that the edge of image wouldn't be too bold against the background. I then used the levels tool to change the colour of the image (cmd+l). I added a layer and coloured the thumb nails in black as they were chipped, which looked unprofessional and then used the effects option and selected Hue which changed the colour of the nail from chipped blue to a shiny silver. I used the clone tool to tidy the hair over the scarf and on the background and the small imperfections on her face.
The image on the left is what the image looked like before I used Photoshop and the image on the right is the image I created using Photoshop.
For the second image I used the clone tool to get rid of the small imperfections on her face and the hair which was going onto the background. I used the dodge tool to lighten the hair (fringe). I then moved onto her eyes as her eyes were not as blue as I would like and so I used the paint tool to draw over her eyes and then I used effects tool - overlay so that the colour would overlay the image below.
The image on the left is what the image looked like before I used Photoshop and the image on the right is the image I created using Photoshop.

For the third image there weren't any imperfections that came apparent in the image and so all I had to do for this image was to use the crop tool on Photoshop to crop the image down tho the appropriate size.
The image on the left is what the image looked like before I used Photoshop and the image on the right is the image I created using Photoshop.


No comments:
Post a Comment